Using an Excel Destination in SSIS with x64
My first real experience with SSIS began in late Feb of this year. I was upgrading a system from SQL 2000 to SQL 2005 (app not yet supported on 2008). This time around I decided to do things the right way and migrate from DTS to SSIS not just import the DTS and execute legacy DTS. Everything was going great until I had to do an export of data into an Excel file. I had this great SQL server running Windows Server 2008 x64 with 16 cores, 64 GB of ram, running SQL 2005 x64. It was a nice upgrade from a Windows 2000 with quad dual cores with 8 GB of ram. Imagine my disappointment when I couldn’t export data into Excel. I was able to quickly find the resolution but I had to get pieces from different areas. Recently on Ask SQL Server Central I was able to help another individual work through the same issues I experienced back in late February. I then decided it would be very helpful to have all this data in one location. With that I decided to create this blog. It is rather long with all the screen shots but I hope others will find it very beneficial. Since the images are sort of distorted I have printed the report to PDF and have it attached here ExcelDestinationx64.
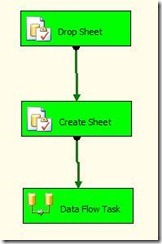
For this example we will need two Execute SQL tasks “Control Flow Items”.
Drag Execute SQL Tasks to the Control Flow section two times.
At this point I would open each “Execute SQL Task” and name them appropriately. One is for dropping the Excel Sheet and the other is for Creating the Excel Sheet.
You can double click on the “Execute SQL Task” and give the task a specific name.
After giving each task a name it now will show in the Control Flow with its descriptive name. Now we can setup our Dataflow. Drag the “Data Flow Task” from the Control Flow Items to your Control Flow window.
Now you can double click on the “Data Flow Task” and build your dataflow. We will need a source and a destination. For my example we will use a ![]() and an
and an ![]() .
.
Let’s double click on the OLE DB Source and configure it.
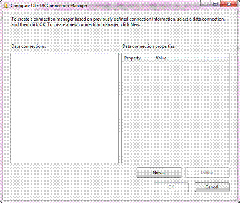
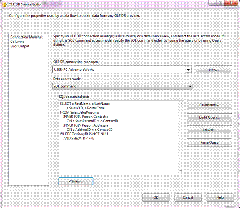
For this example we will create a new connection so click NEW. A new dialog box will open.
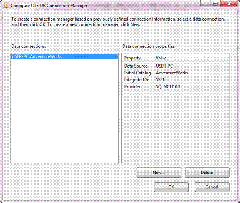
If you had any existing connections they would be listed here. Click New to create a new connection to your data source. For this example I will use AdventureWorks.
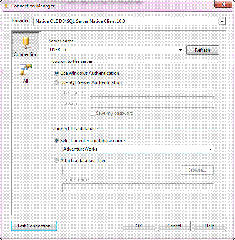
Type the name of your database server and your database. You can click “Test Connection” but it would be sort of redundant if you type the name of your server and use the drop down to find your database. Click OK to accept your settings.
Click OK
For this example we will change the “Data Access mode” to “SQL command”. You can now paste your query into the “SQL command text” window. For this example my query is
SELECT c.FirstName, c.LastName
,s.SalesYTD, a.PostalCode
FROM Sales.SalesPerson s
INNER JOIN Person.Contact c
ON s.SalesPersonID = c.ContactID
INNER JOIN Person.Address a
ON a.AddressID = c.ContactID
WHERE TerritoryID IS NOT NULL
AND SalesYTD <> 0;
I typically click Preview to ensure everything is good with my query and the results come back as expected.
Drag the green arrow to your “Excel Destination”.
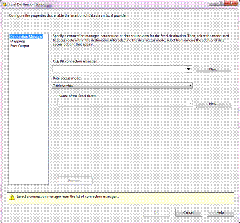
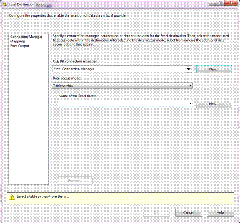
Double click your “Excel Destination”. We will be creating a new Excel file. Click New.
Type the path and name of your Excel file and click OK.
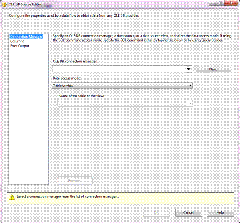
Next we will click on NEW to create our Excel Sheet.
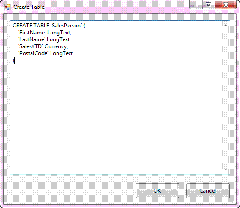
I always rename the Worksheet to something specific. This really helps out if you have multiple worksheets that you are populating. That will be another blog later. Make sure to select and copy the code to create the worksheet. You will need this for your Create Sheet SQL Task on the Control Flow.
CREATE TABLE `SalesPerson` (
`FirstName` LongText,
`LastName` LongText,
`SalesYTD` Currency,
`PostalCode` LongText
)
Click OK.
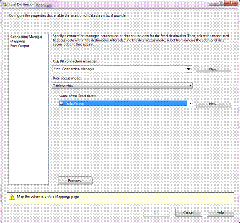
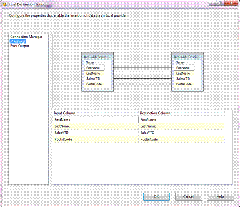
Now click on Mappings.
Click OK.
Click on the Control Flow tab. ![]() and double click the “Drop Sheet” SQL Task.
and double click the “Drop Sheet” SQL Task.
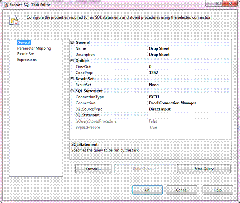
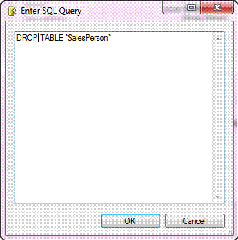
Change the Connection Type to EXCEL, click the down arrow on Connection and chose your Excel Connection Manager. The SQLSourceType should be Direct Input. Now click the elipses (…) next to SQL Statement so you can paste the Create statement from the Excel Destination.
Change “create” to “drop” and remove the reference to the columns. Now click OK and then OK again. Now double click on the Drop Sheet SQL Task. Repeat the steps above but this time in the SQL Statement paste the entire create table query.
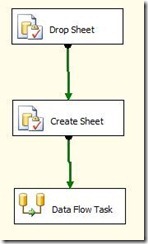
Connect your Drop Sheet task to your Create Sheet and then your Create Sheet to your Data Flow Task.
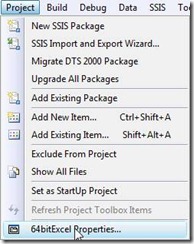
Now since we are running on an x64 platform we need to set debugging to allow us to debug the package. Click ![]() and chose the name of the package.
and chose the name of the package.
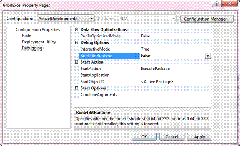
Change the “Run64BitRuntime” from True to False and click OK.
Now execute your Package.
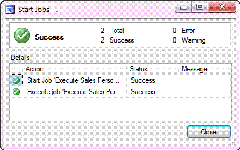
You should now save your work if you haven’t been saving as you went along. Next you will most likely want to schedule this package to run as a SQL Job. To schedule this to run, you will have to invoke SSIS in 32 bit mode. To do so you will have to call it from command line or if you are using SQL 2008 or above you can add a job step for “SQL Server Integration Services Package” chose your package, click on “Execution options” and check the box for “Use 32 bit runtime”. If you are using SQL 2005 you will need to call the package from runtime. I will demonstrate that now.
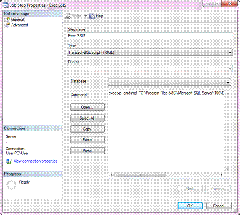
Lets get started. I am not going to show each step for creating a SQL job, you should know this. On my system I right clicked on my jobs folder ![]() and chose “New Job”. I gave the job a name and then clicked steps. I named the step and change the Type to “Transact-SQL script (T-SQL) since we will be using xp_cmdshell to call the 32bit version of SSIS. The syntax of the command is below. Since I am running SQL 2008 R2 Developer I chose 100. If you are running SQL 2005 it will be 90.
and chose “New Job”. I gave the job a name and then clicked steps. I named the step and change the Type to “Transact-SQL script (T-SQL) since we will be using xp_cmdshell to call the 32bit version of SSIS. The syntax of the command is below. Since I am running SQL 2008 R2 Developer I chose 100. If you are running SQL 2005 it will be 90.
exec xp_cmdshell ‘”C:Program Files (x86)Microsoft SQL Server100DTSBinndtexec.exe” /f C:Blog64bitExcel64bitExcel.dtsx’
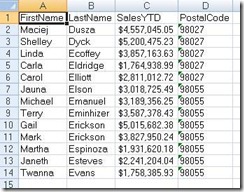
I can then browse to my folder where I placed the Excel file and view my data.
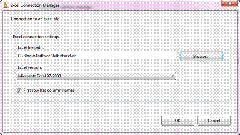
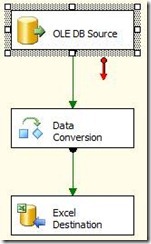
Something else worth mentioning is when you export data to Excel, you might have to use a “Data Conversion” task ![]() located in the Data Flow Transformations toolbox
located in the Data Flow Transformations toolbox ![]() . You will need to drag the Data Conversion task onto your Data Flow Task screen and place it between your OLE Source and your Excel Destination.
. You will need to drag the Data Conversion task onto your Data Flow Task screen and place it between your OLE Source and your Excel Destination.
To do this highlight your green arrow and press delete. Then line up your task and connect the Green arrow from OLE DB Source to the Data Conversion task, then the Data Conversion task to your Excel Destination.
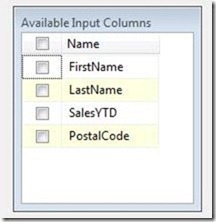
Double click the Data Conversion task and it will bring up a box for you to check which columns you want to convert.
In my example I am going to check each one of them.
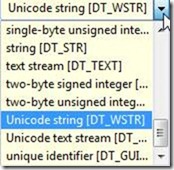
They are then added to the bottom of your window. At this point you can click the drop down and change the Data Type. This will be very helpful for many datasets. You will find dealing with strings to be quite frustrating. If you click the down arrow you will see something like this.
There are lots of choices here.
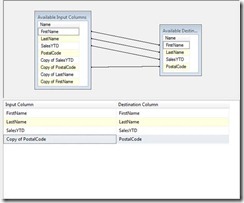
If you have to do a data conversion the default name of the “newly converted column” is Copy of column_name. For the purpose of demo I have changed my mapping for the PostalCode to be the converted column.
That is all there is to it. Once you suffer through creating your first Excel destination on an x64 system it really doesn’t seem that difficult. I have heard a lot of grumbling about how tedious SSIS can be to work with but with great control and precision come a few extra steps of configuration. Once you create a few of these it will seem like child’s play.
![clip_image004[1] clip_image004[1]](http://timradney.com/wp-content/uploads/2011/05/clip_image0041_thumb.jpg)
![clip_image010[1] clip_image010[1]](http://timradney.com/wp-content/uploads/2011/05/clip_image0101_thumb.jpg)
![clip_image014[1] clip_image014[1]](http://timradney.com/wp-content/uploads/2011/05/clip_image0141_thumb.jpg)
![clip_image020[1] clip_image020[1]](http://timradney.com/wp-content/uploads/2011/05/clip_image0201_thumb.jpg)

11 Comments
Hi Tim,
Just a quick note that on the execution options tab of the Execute SSIS package job type, there should be an “Execute Package in 32 bit mode” option. Only have access to SQL 2008 R2 to check at the moment but am sure it is the same in 2008.
Barny
Thanks Barny, nice little tip. I will have to test that out and amend the blog post. – After check this setting out it is a 2008 and above feature. Not available with SQL 2005 which was the version I was working with when I experienced the issue. I will amend the blog post to let everyone know it is much easier on 2008 and above.
This has made my day. I wish all psontigs were this good.
Great workaround! I understand where you’re coming from in the final paragraph, but I gotta say Microsoft *should* be able to make export to Excel work on x64 without any hoop-jumping. Maybe in Denali? I haven’t checked.
Kudos! What a neat way of tihnknig about it.
I’m not easily impressed. . . but that’s impressing me! 🙂
Thanks a lot for the Post..
hi
how to export the data into multiple sheets
Same concept, just create the multiple sheets in your first step and then reference them in multiple excel destinations.
What a great start to a week. I followed your excellent step by step instructions and 30 minutes later, I had a functioning package. THANK YOU TIM!!!
One of the best posts on the topic… Great work..! 🙂